OFFICE RENO UNDER $500

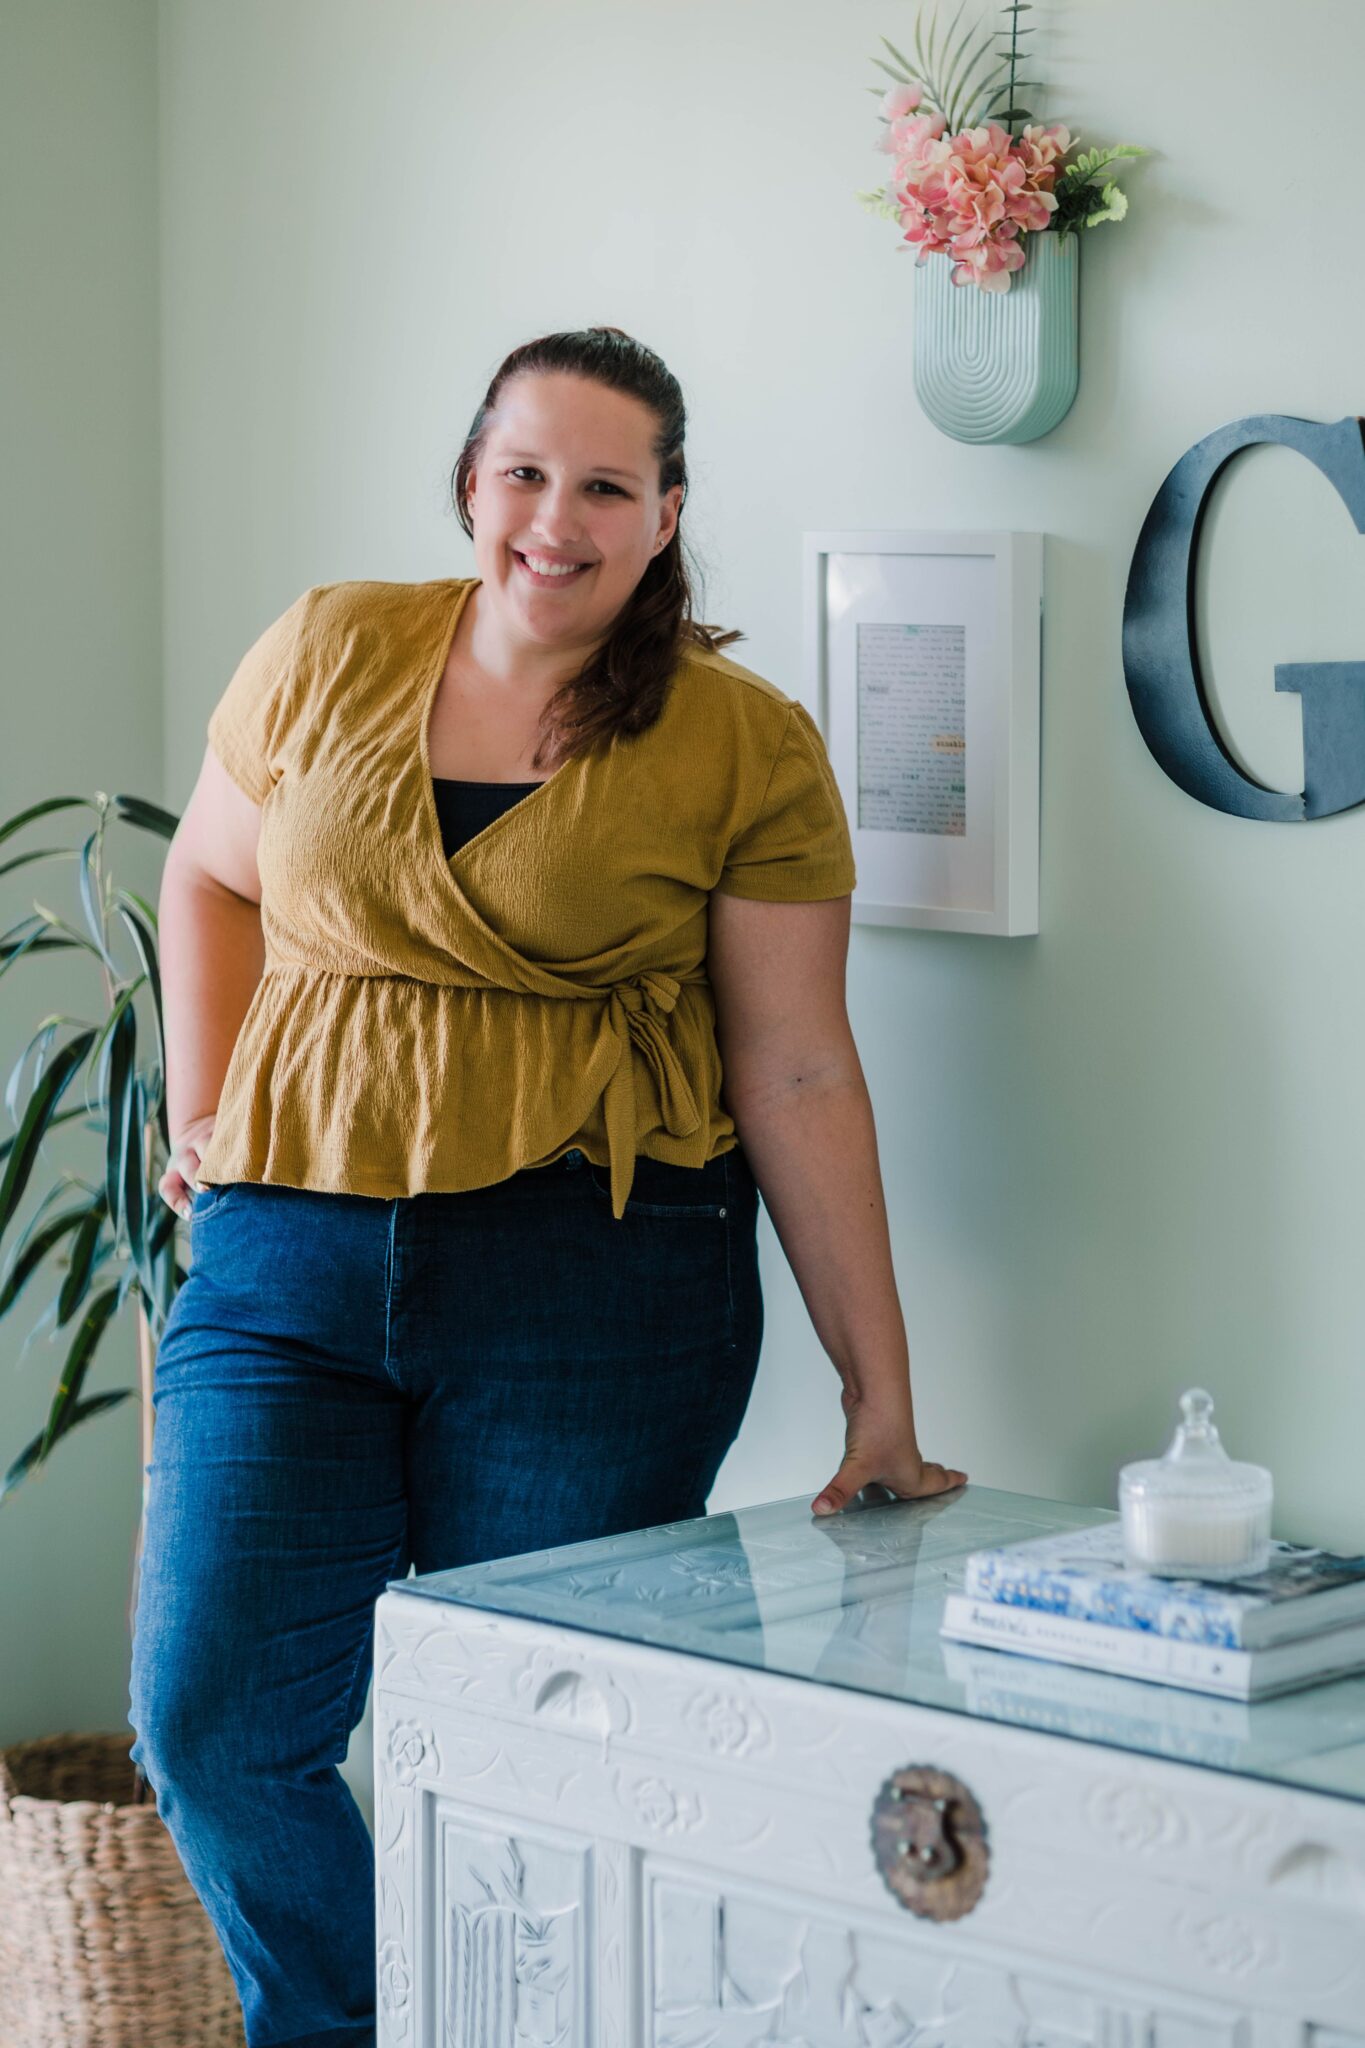
Written by Gaylene Drew, GIW Design

Need a space to work from home? Or even a space to call your own, but don’t have the budget for custom cabinetry? Then this blog is for you!

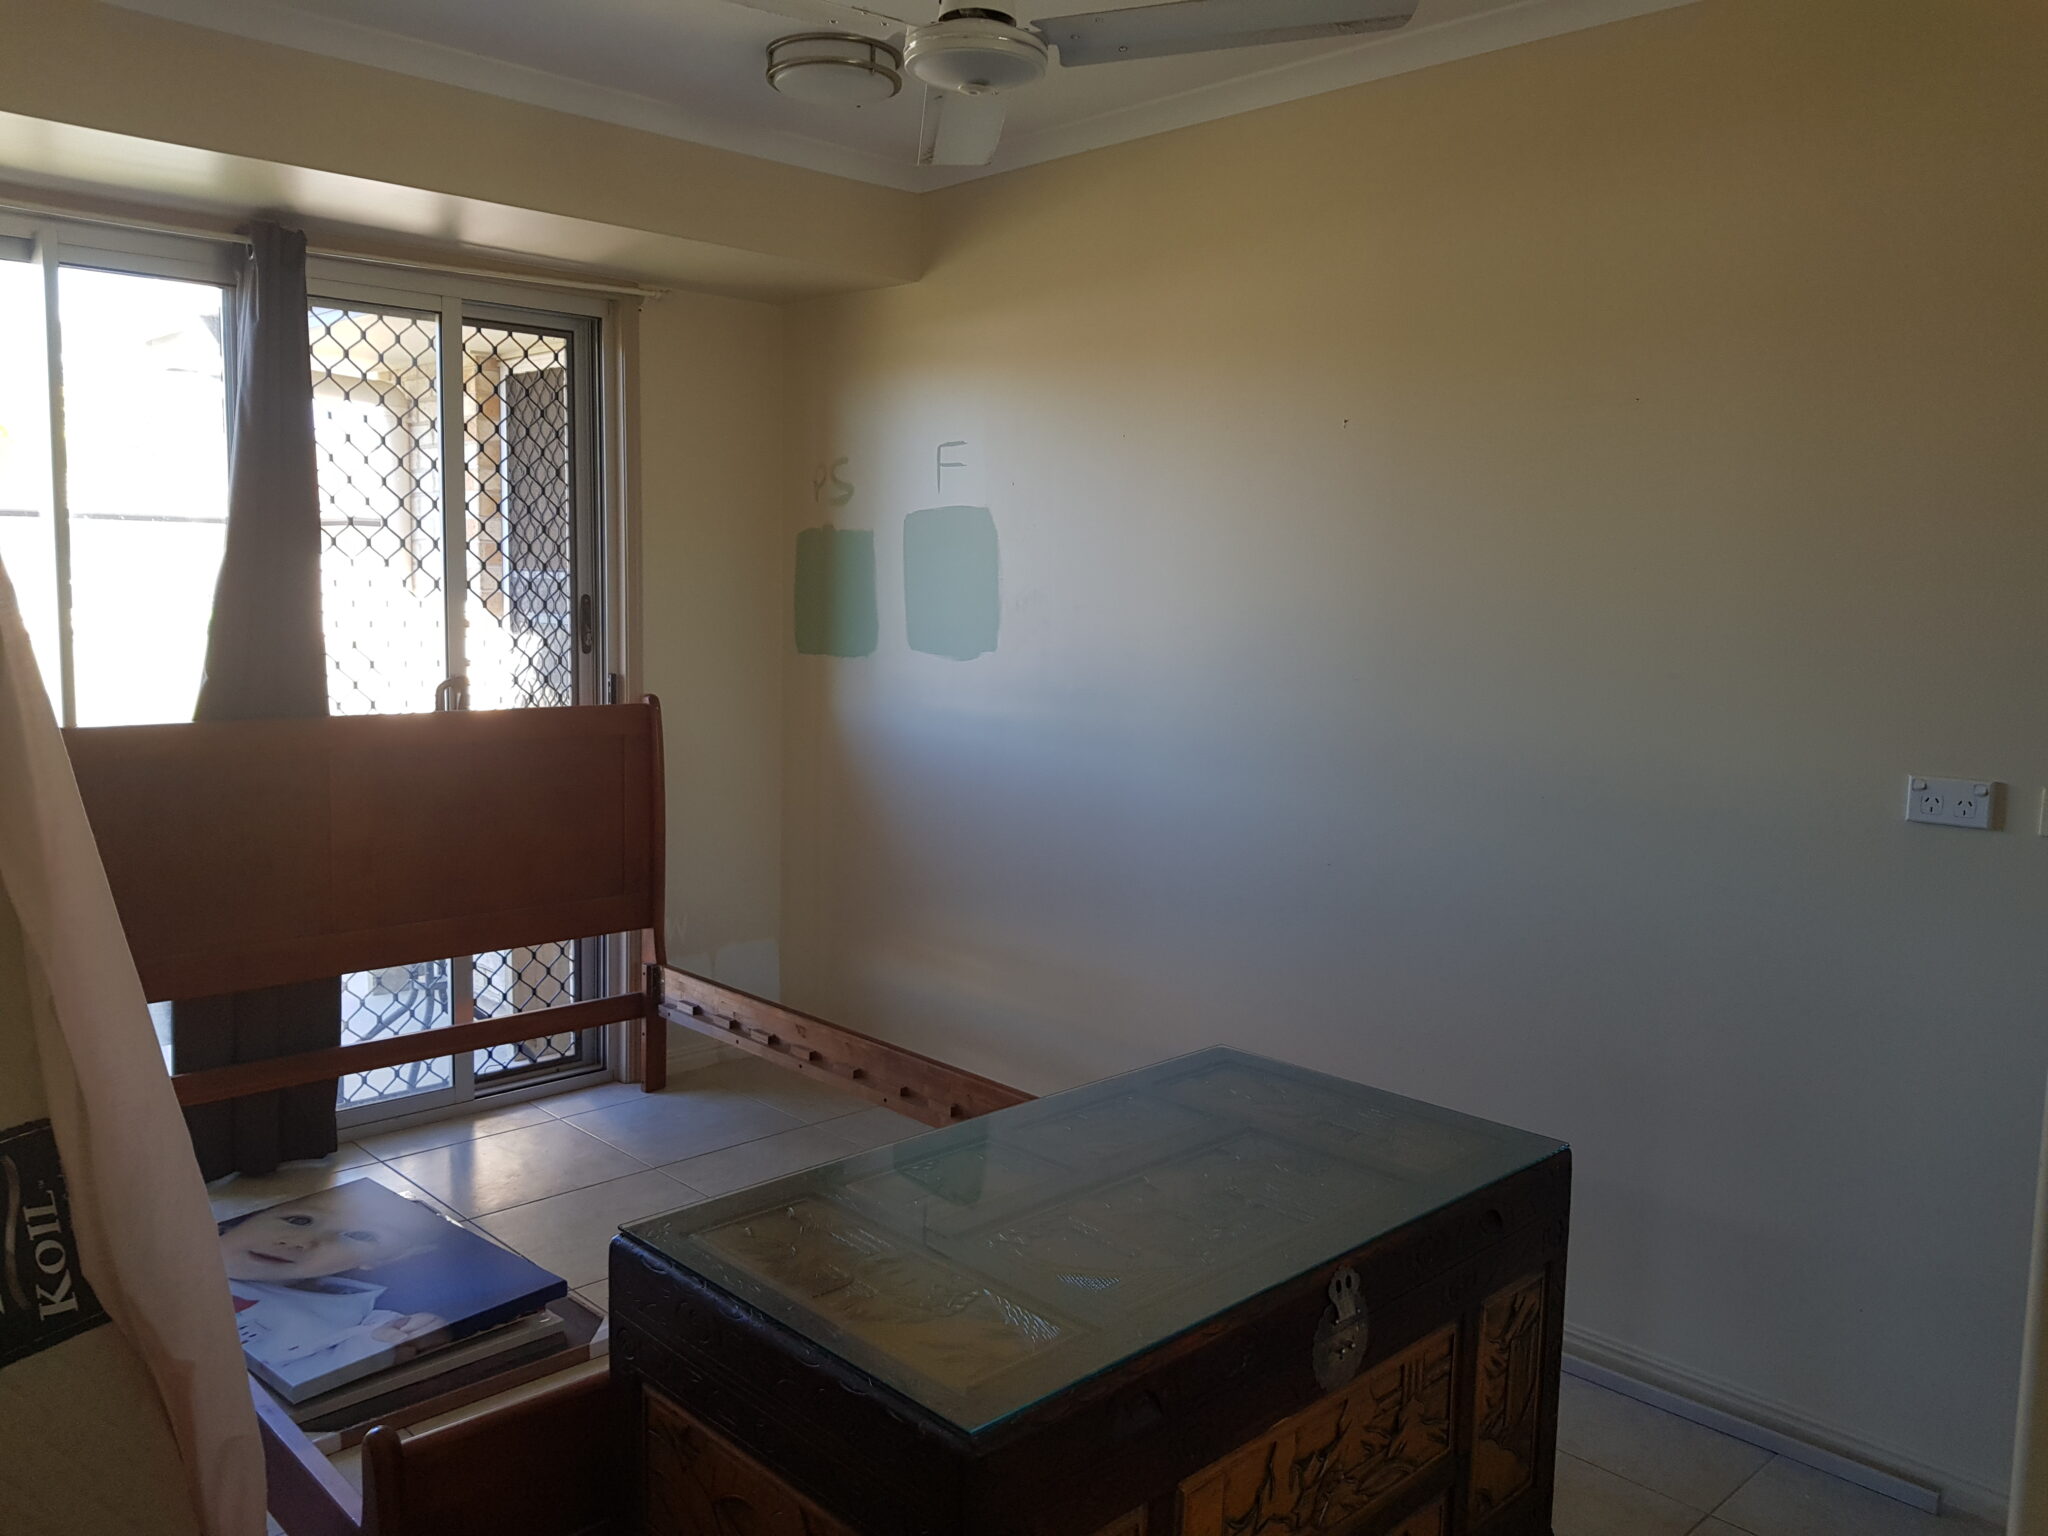
We had a guest bedroom that was no longer being used for its namesake, and instead became a dumping ground for items in limbo. The goal was to convert the space into a work zone for ME! A zone that was my own style with items that bring me joy. A zone that was not dictated by what will or won’t work with children (e.g. won’t be touched, dirtied or broken). I wanted a space that was light, bright and pretty.


INSPO & PAINTING 

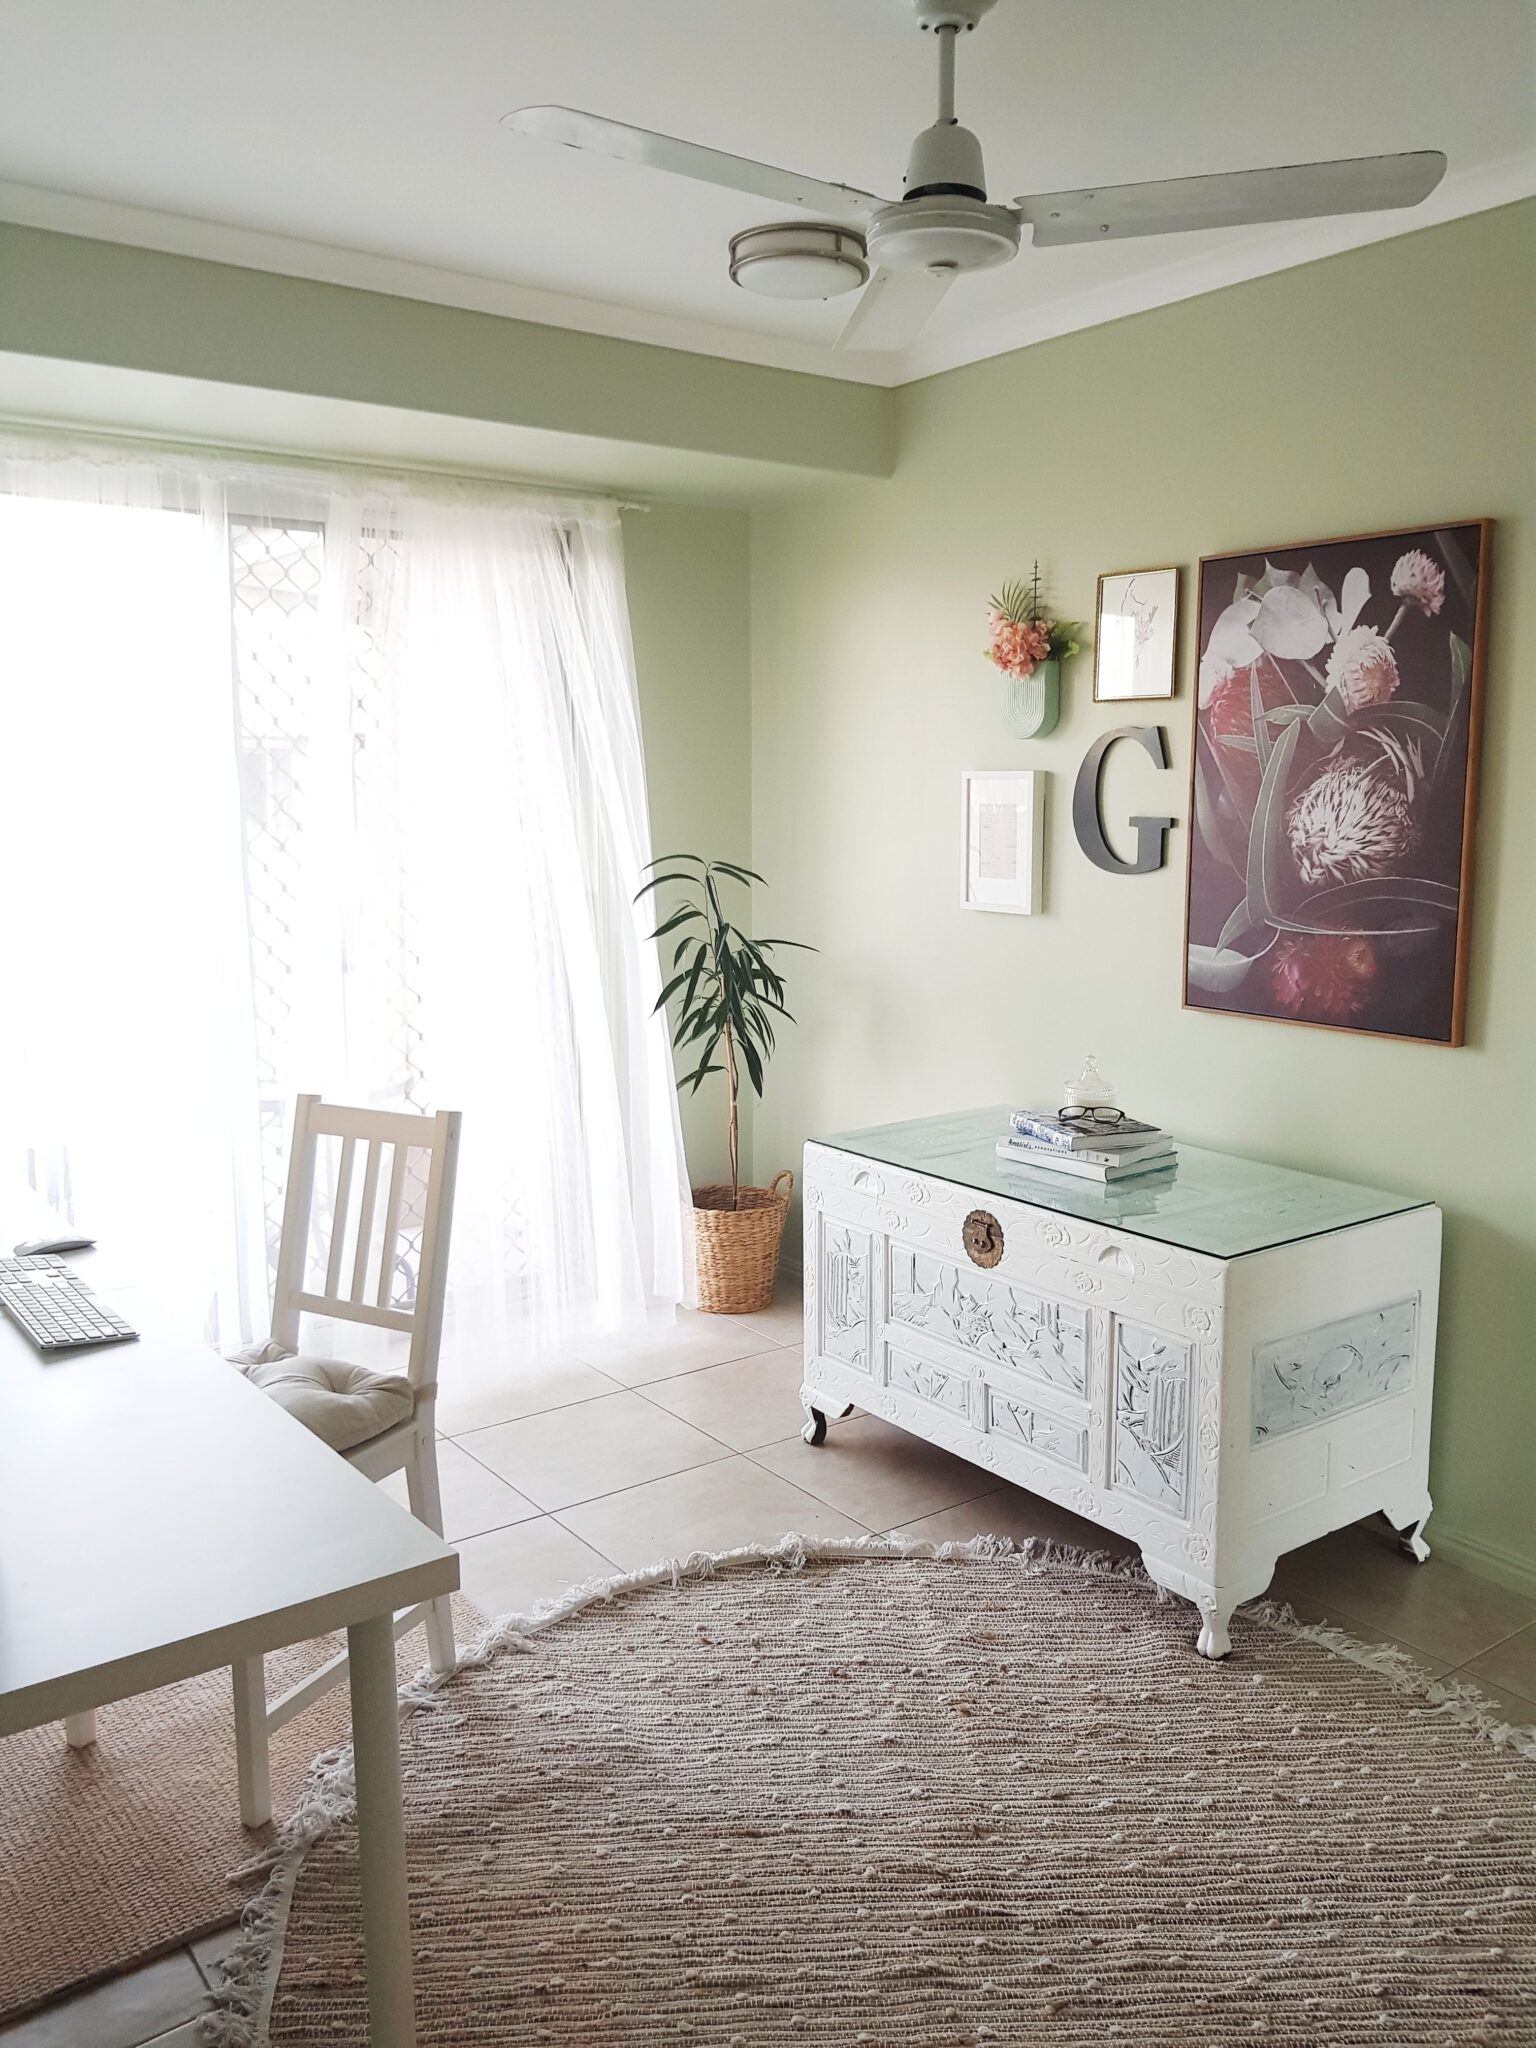
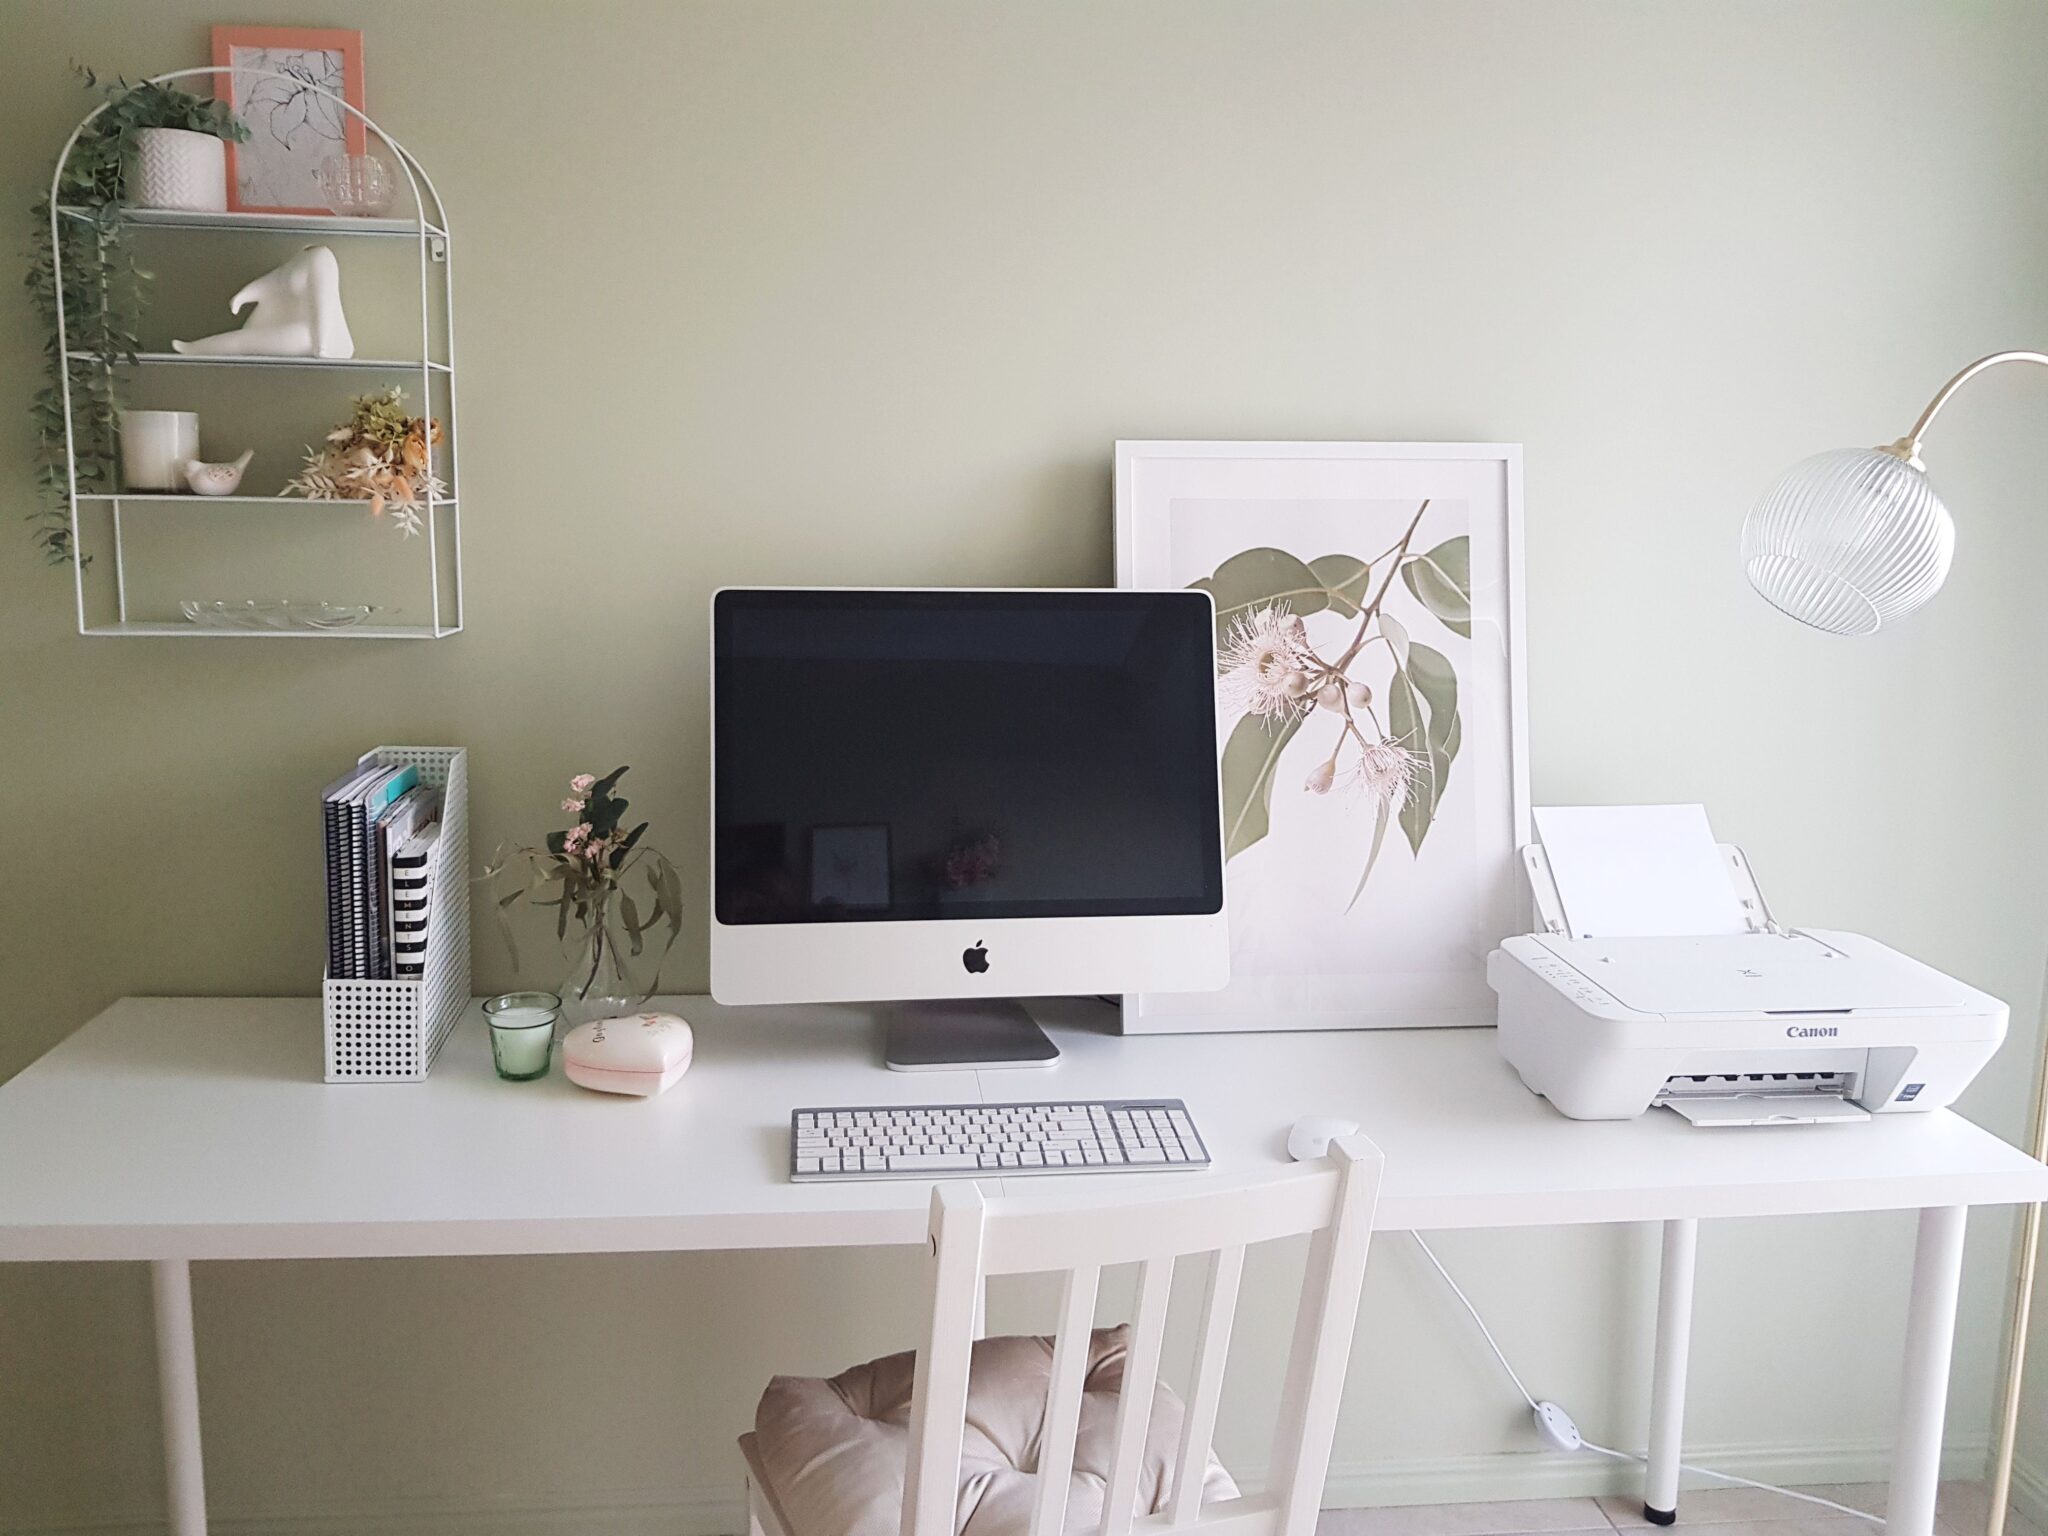
I used a canvas print from Kmart as my inspiration for the room; it is floral, green and light.

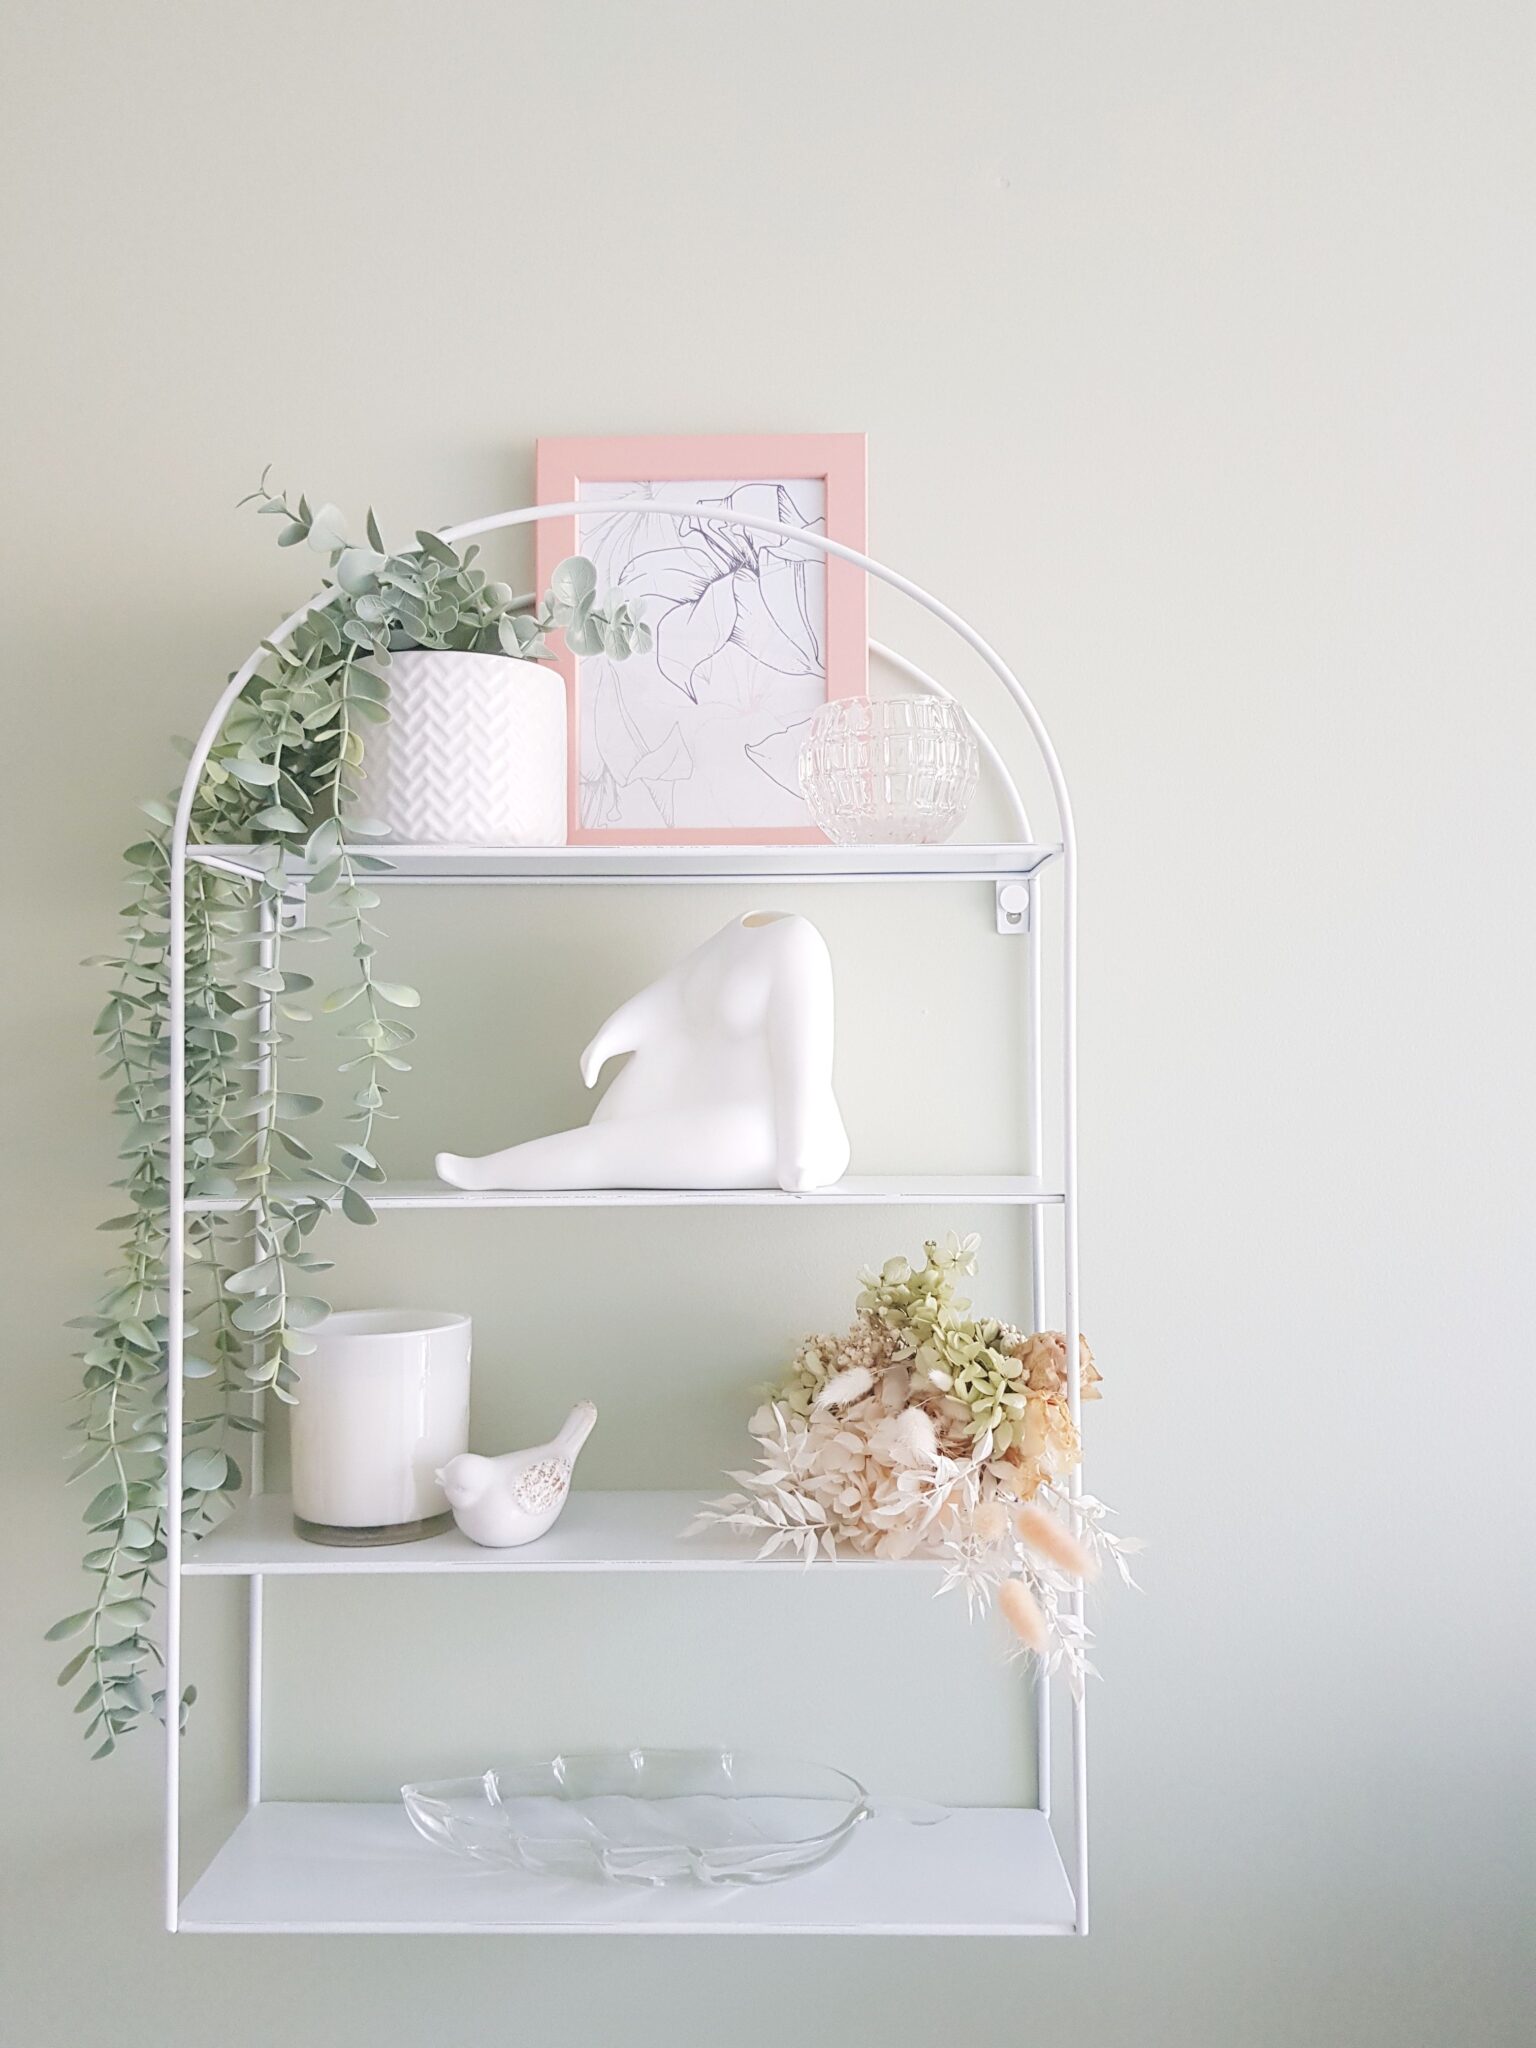
Designers Tip: Pick one or two focal pieces as your guide for colours and decor in the room. I did this by pulling the green from the canvas and placing it on the walls. I also decorated with other floral elements through-out the room.

To bring life to the room we painted it in Half Strength Foille by Dulux. Designers tip: Purchase some sample pots and test the colours first.

By testing first, we learnt the full strength colour would be too dark and which left the space feeling smaller. To assist in lightening and brightening the space, we conducted DIY on pieces of wood by painting them white (Chest and Shelf). They were then styled with existing and new pieces that aesthetically connected with our focal piece.

THE DESK 

I was clear and decisive about my desk objectives: long and moveable. To meet these objectives the desk was put together by items from IKEA. IKEA can be a cheaper alternative; however delivery soon adds up when living regionally. Don’t just presume it will be the cheapest route and do your research by comparing other suppliers.

THE BUDGET

To get hubby on board with my project I had to set a budget and we felt $500 would be ample. Unfortunately, I went a little bit over! Upon reflection, overheads could have been reduced with more DIY tasks.

Cost breakdown:

$164  Décor
+ $140  Desk Set-up (including delivery)
+ $233  Paint & Equipment
= $537

NEED HELP? 

Big or small renovations can be overwhelming. To help ease the stress and assist in the decision process you can engage an Interior Designer. A Designer can give professional advice on selections, layout and functionality (just for starters). 

2019 RESIDENTIAL KITCHEN WINNER

Written by Belinda Blackburn

I was passionate about improving my home!

Despite having lots of windows in an open plan design, the space still felt dark from the timber-look lino and black kitchen benchtop.

When we decided to undertake the renovation I knew that I wanted to make it bright and welcoming; consequently, the entire house was gutted!  The dark flooring was removed and replaced with a light vinyl planking; walls were repainted; and a new bathroom, toilet and laundry were installed. We got it all!

We were so excited to see the improvements evolve and enhance the living spaces.


THE FINER DETAILS

I researched for many hours and found most of my inspiration online. I then created virtual mood boards before finally deciding on a style that I loved and could commit to.

We designed the kitchen so that white was the dominant colour palette, and used black accents and marble benchtop to create a beautiful contrast.

Sparkmans Cabinetry made it all come to life and I thank them for their patience with my back and forth decision making! Reece Plumbing were the suppliers for all our beautiful kitchen and bathroom products (including appliances), and I absolutely love how it turned out.


TIMELINE

It was hard to keep track of the timeline as the whole house was being renovated at the same time. There were lots of people to navigate including the builder, plumber, plasterer, electrician, tiler, floor layers, painter, and cabinetmaker. In total, the renovation took approximately 10 weeks.

PLAN, PLAN, PLAN!

The best advice I can offer to anyone else undertaking a renovation project is to plan, plan, plan! Be prepared for setbacks and things not always going right. It’s going to happen no matter how well you have organised everything, but it’s all worth it in the end!

Happy renovating and good luck in this year’s competition!

2019 Winner: Residential Bathroom

Written by: Michelle Eaton

We were nervous starting our first renovation to our home, especially after hearing countless horror stories. It could not have run more smoothly due to Dave Werry at DCG Werry Building Services. He had so much patience listening to my design ideas and made our dream a reality. The whole process took around 12-14 days and we could not be happier with the results!

The entire bathroom was gutted and moved around to open up and utilise the small space we had to work with. We chose a decking floor for something unique, being a full wet bathroom. Mixing with it an industrial, Scandi texture with floor to ceiling tiles from HARBOUR CITY TILES & CARPETS. The beautiful fittings and mirror were from Ken’s Plumbing, and custom-built vanity from Sparkman’s Cabinetry.

We honestly forget we are in our own bathroom at times, we just don’t want to get out!

My biggest tip for anyone thinking of doing a renovation is to be organised, and do your research. It’s ok to be set on a design or theme but also listen and work with your builder. I had backup options incase my first choice wasn’t possible. I was always looking for inspiration in places I visited, and on Pinterest.

Thank you again to #Renovate4680 for running this competition and good luck to all the entrants for this year’s competition!


PHOTOGRAPHING YOUR RENOVATION

LOCATIONS estate agents shares tips on how best to photograph your recently renovated kitchen or bathroom.

Light is a basic element of photography; turn those light switches on!

In the kitchen, turn the light on in the range hood.

For the bathroom, just turn on the standard lights and avoid turning on the heated lamps because they can create a yellow and orange colour cast throughout your image.

Something to keep in mind is that white light globes create a cool lighting effect. The yellow and orange light globes create a warm effect. So definitely install those light globes with deliberate intention.

Create images that are aesthetically pleasing with a few very simple tips:

  • Depersonalise the space by removing family photos
  • Declutter the room and create strong leading lines in the image
  • Utilize soft furnishings to a minimum. Be sure that everything in the space is very deliberate and that nothing is distracting.
  • Display towels and mats with caution. Whilst they are very pretty, they can cover a lot of the floors, walls and grout that the judges need to see in your image.
  • When photographing a bathroom with a toilet: please put the lid down.

The quality of your photo is not what is being judged, but a good photo will certainly help the judges see the space in the way that you intended.

Whilst it can be beneficial to hire a professional real estate photographer, smartphones can take a really good photo but please avoid applying any filters.

Gladstone, get those entries in and good luck!